Let’s install OpenShell on the PC.


OpenShell, formerly
known as Classic Shell, isn't a single program, but rather a suite of tools for
customizing the user experience on Windows, particularly focusing on bringing
back elements from older versions. The star of the show is the customizable Start
menu, allowing users of Windows 7, 8.1, 10, and even 11 to replicate the
familiar look and feel of the classic Windows 7 Start menu. But OpenShell goes
beyond just nostalgia. It also offers a toolbar for Windows Explorer, bringing
back the ability to quickly access frequently used functions, and an Explorer
status bar displaying file sizes and disk space. While primarily focused on
aesthetics, OpenShell can actually improve productivity by providing users with
a comfortable and familiar interface tailored to their needs. So, if you're
yearning for the good old days of Windows 7's Start menu, or simply want to
customize your Windows experience, OpenShell is definitely worth checking out.
If you want to use
this product, you have to install it on your PC. Today, I will show you
“How to Install OpenShell.”
Step 01
Download the “OpenShell” application.

Step 02
Open the save folder
and run the setup file.

Step 03
Open-Shell Setup
Wizard, click “Next” to start the
wizard, or click “Cancel” to close
the window.

Step 04
End-User License Agreement
Read the license
agreement carefully.
Click “Print” to take a printout of the
License Agreement.
If you do not agree
to the license agreement, click “Cancel”
to end the setup without installing or If you agree to the agreement, check “I accept the terms in the License Agreement,”
then click "Next.”

Step 04
Custom Setup
Click and change the
way the feature is installed that you want to install.
Check the box only to
create a start menu folder, then click browse and change the installation
location if you like to install in a custom location rather than the default
folder.
Then click "Next.”

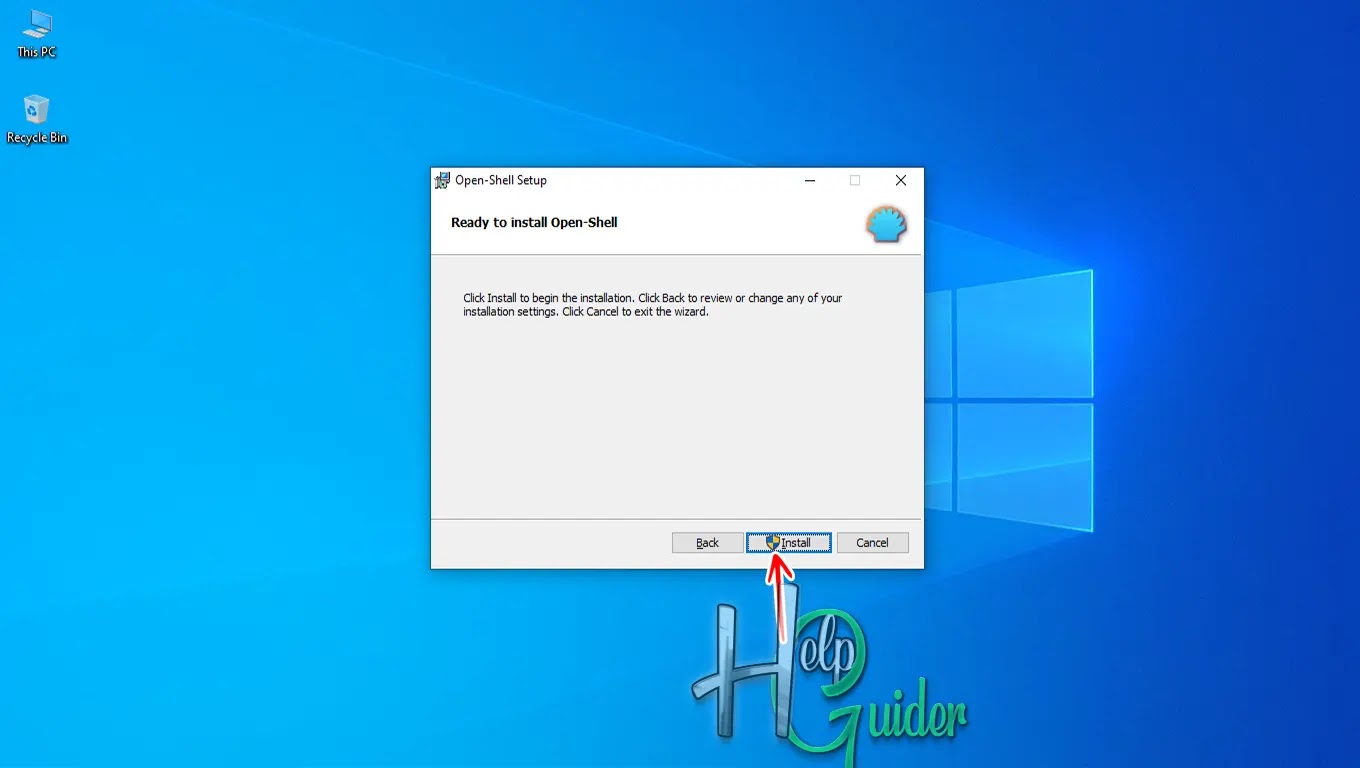
Step 05
Now everything is
ready to install OpenShell on your PC. If you want to change anything, just
click “Back” and change what you want and come back. Then click “Install” to
start the installation process.
Step 06
Wait a few seconds
until the installation is complete.

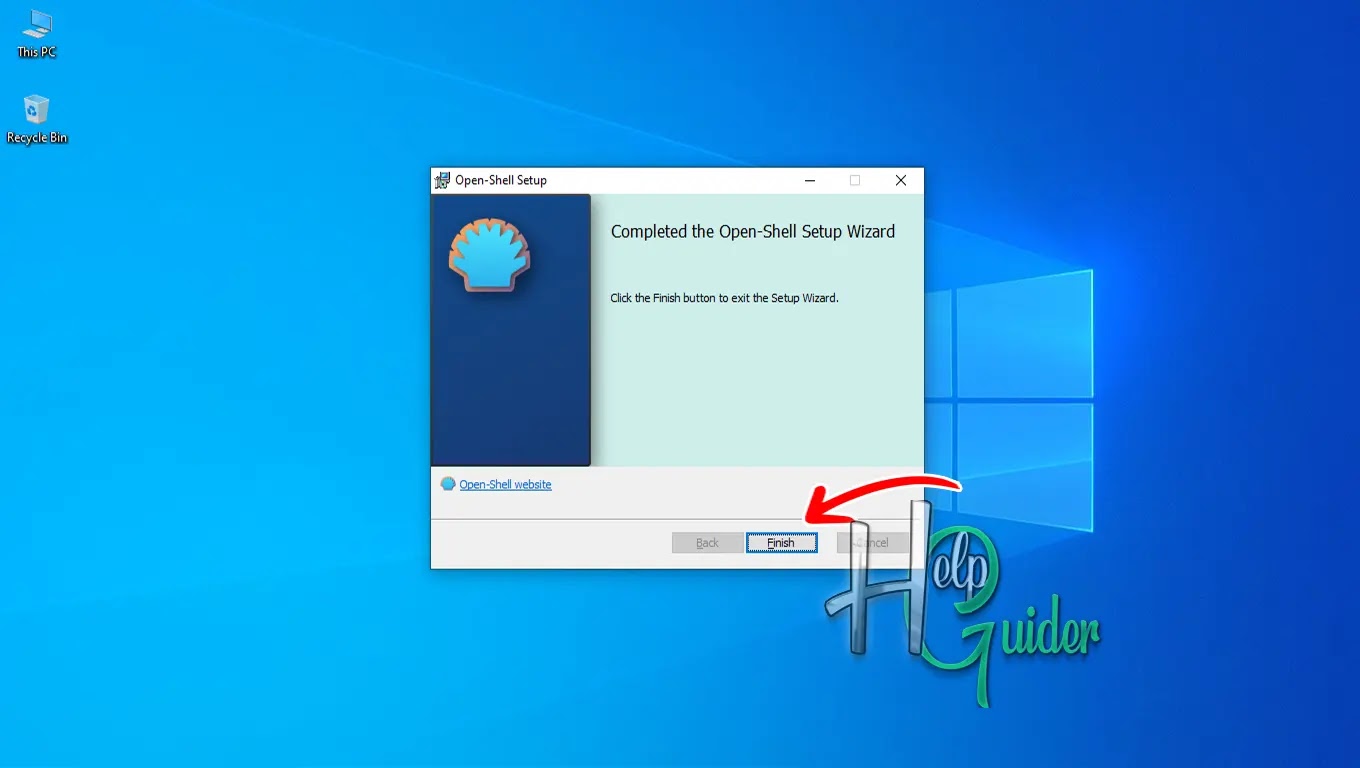
Step 07
Open-Shell
completely installs on your PC. Click “Finish”
to close the Setup Wizard.
Step 08
Now all appearances
have changed on your PC. Run and customize as you like and enjoy the classic
view.

I hope you will enjoy this now look.
I hope you learn something.
Good Luck!