

Wireshark, the
world's foremost network protocol analyzer, acts like a microscopic lens into
the inner workings of your network. Imagine it as a deep-sea explorer,
patiently capturing and dissecting each digital packet that journeys through
the cables. This free and open-source tool empowers you to troubleshoot network
issues, understand how communication protocols function, and even delve into
software development. Whether you're a cybersecurity professional sniffing out
threats, a student unraveling the mysteries of data transfer, or simply curious
about the hidden language of networks, Wireshark can illuminate a fascinating
digital world. Just remember, with great power comes great responsibility, as
ethical considerations are crucial when using this powerful tool.
Here is the
step-by-step guide with screen capture on how to install “Wireshark.” I hope
this will help you. Let’s start…
Step 01
Go to the page and
Download the application.

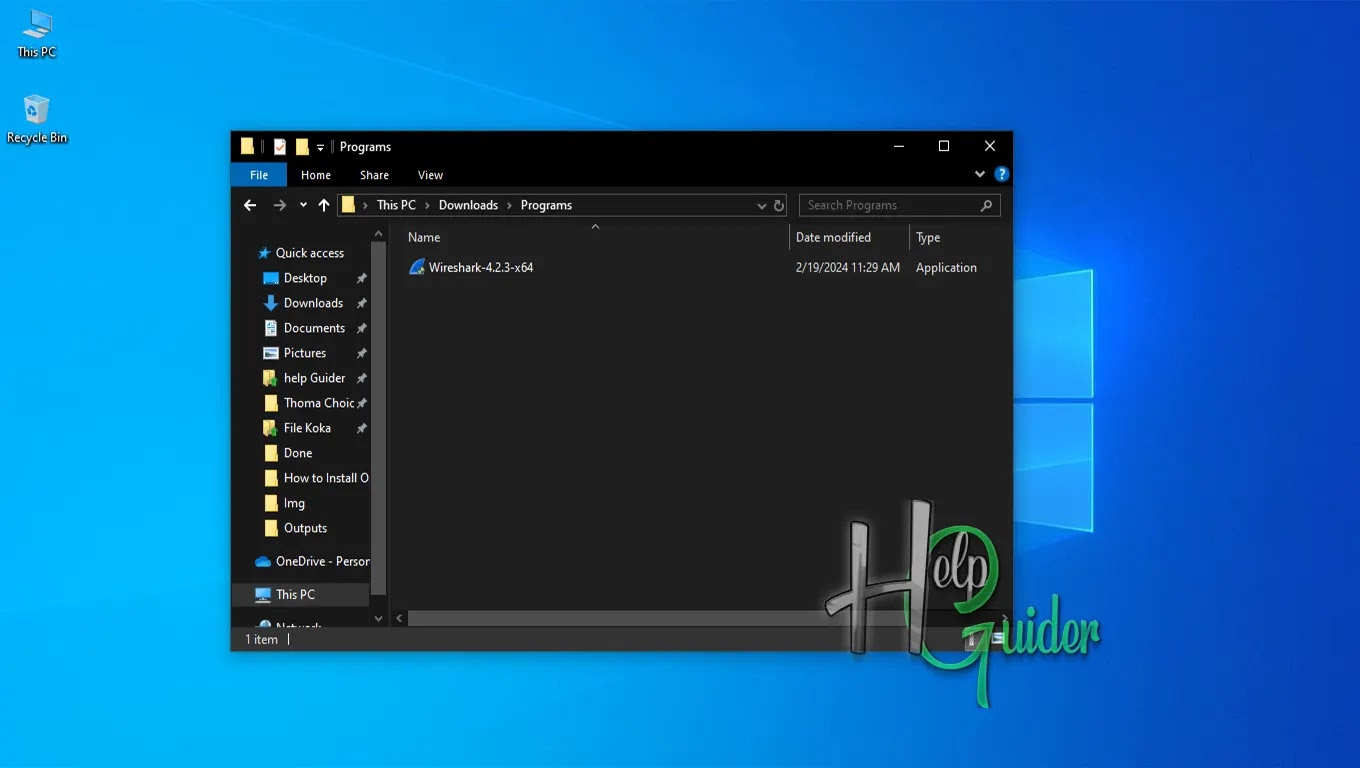
Step 02
Open the folder and
run the downloaded application.
Step 03
After the setup
wizard starts, click “Next” to start
the installation process..

Step 04
Read the license
agreement, and if you do not agree with the agreement, click “Cancel” to close the setup. If you
agree to the license agreement, click “Noted.”

Step 05
This application is
free and open-source software, so they do not earn anything from it. Your
donation will help them keep developing, and it will help them keep adding new
features and tools to this application. You can donate by clicking the link.
Click “Next” to go to the next step.

Step 06
Check the tools and
components you want to install; uncheck if you no longer need to install them.
Then click "Next.”

Step 07
Check where you want
to create shortcuts.
If you like to trace
the files that include those extensions, check “Associate File Extensions,” then click "Next.”

Step 08
If you want to
change the installation file location, click browse and select the file
location, or you can install the default file location. Click “Next.”

Step 09
To capture live
network data, you have to install Npcap or WinPcap. Check the box “Install Npcap 1.78” if you would like
to install. Or click “Get WinPcap”
to get WinPcap. (The version will be various.)
Then click “Next.”

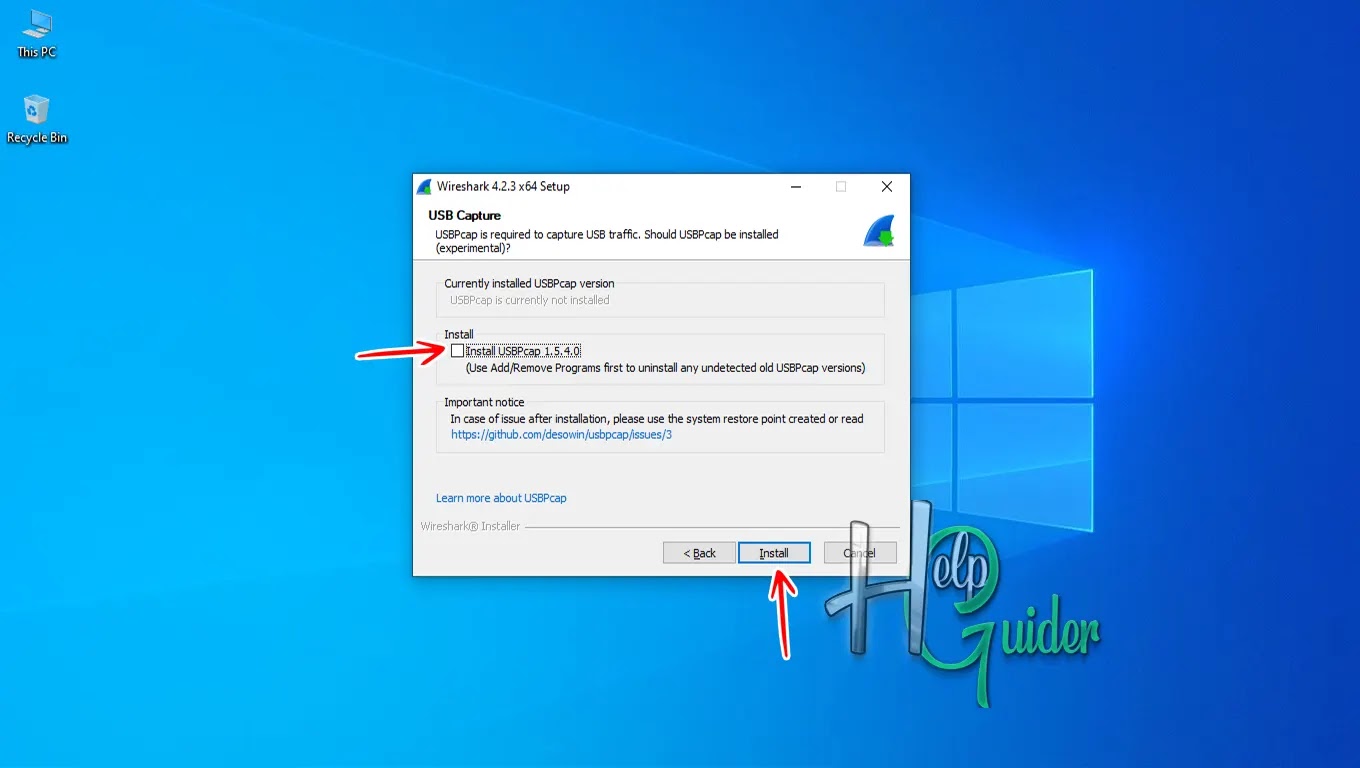
Step 10
To capture USB
traffic, you have to install USBPcap. Check the box “Install USBPcap 1.5.4.0” if you would like to install. (The version
will be various.)
Then click “Next.”
Step 11
The installation
process started. Wait a few seconds to finish the installation.

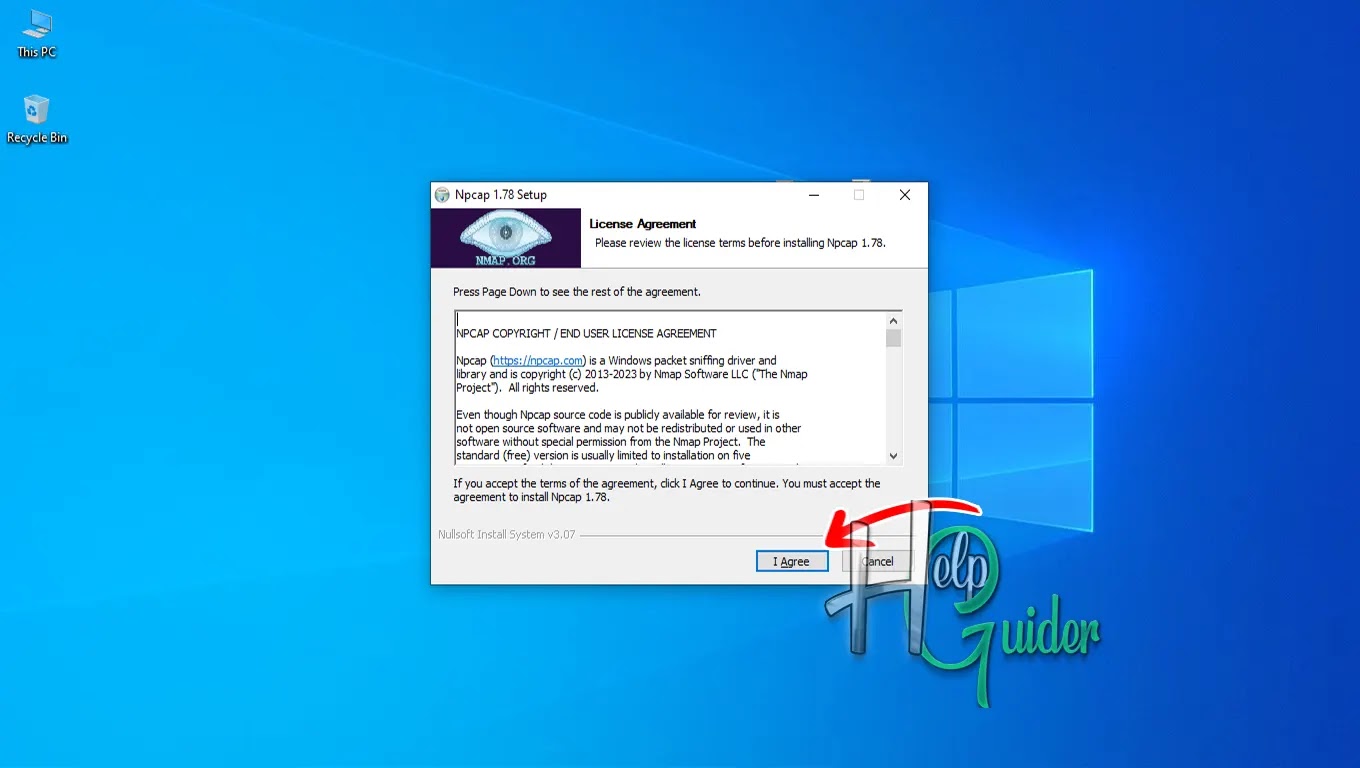
Step 12
Wireshark is
installing on your PC, and now the Npcap installation process is starting.
Read the license
agreement, and if you agree, click “I
Agree” to continue.
Step 13
Check the features
and options to install and click “Install”
to start installation.

Step 14
Wait a few seconds
to finish the installation.

Step 15
Now that the Npcap
installation process is complete, click “Next”
to continue.

Step 16
Click “Finish” to close the Npcap installation
wizard.

Step 17
Wait until you
finish Wireshark installation.

Step 18
Wireshark
installation is complete. Click “Next.”

Step 19
Click “Finish” to close the setup wizard. Now
you can use the application.
Run the application
and experience the tools and features; do not forget to share your experience
with us.

I hope these tools will help you.
I hope you learn something.
Good Luck!