How to Setup Mailbird for the First Time
Mailbird is an email
program for Windows desktop that offers a simple to use and full of features
service. You can handle several accounts in one inbox, improve your work
process with layouts you can change and apps that work together, plus make your
emails unique with different themes and signatures. Delay less important
emails, search for certain messages easily with strong search options, and get
better safety through things like complete encryption and two-step
verification. No matter if you are a professional with lots of work or just
want to handle your emails in a more effective way, Mailbird is an interesting
different choice from the usual email programs.
Today I will guide
you how to setup Mailbird for the first time.
Step 01
Download and Install
Mailbird.
Step 02
After installing,
run the application. When you run first time it will ask you permission to send
their occasional email with tips, features, promotions. Click “Yes, let's stay in Touch” to receive that email, or “No Thanks” to not
to receive those emails.
Step 03
Add Account
We are going to add
an email account to this client.
Give a name to this
email that you can identify when you add multiple email accounts.
Enter the email address
that you are going to use to connect to this client.
Then click continue.
Step 04
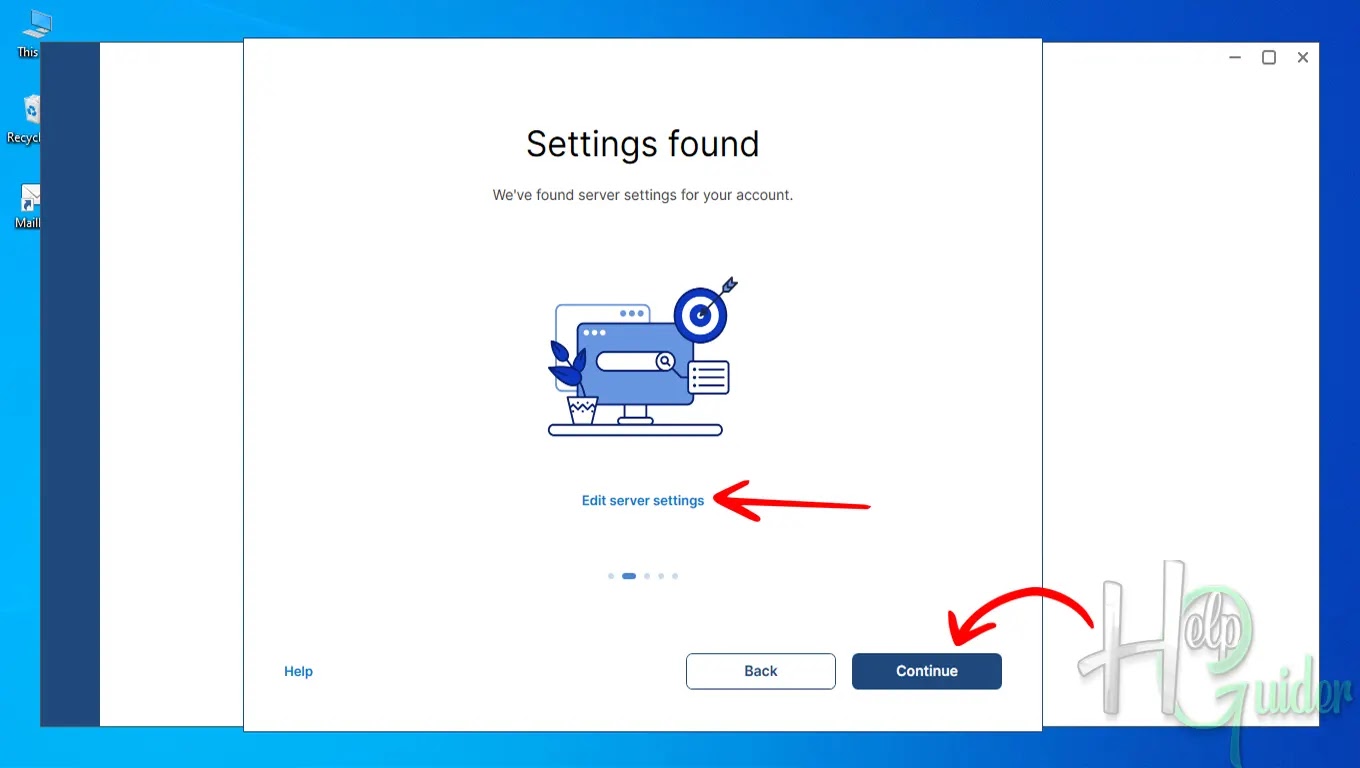
Server Settings
You have to setup
server settings, but on the Mailbird server, they have preset server settings
for popular emails. So, you do not need to set them up.
If you want to change
the server setting, click “Edit server
setting” and change whatever you like.
Then click "Continue.”
Step 05
Login from the Browser
You have to login to
your email account through the browser. As soon as you click continue on the
previous step, it will open the login page in the browser.
Enter the email and
password and log in to your account through the browser.
Step 06
Mailbird wants to access your account.
Mailbird wants to
access your Google account. There are only a few things Mailbird can do by
giving access to the account. So read what they can do after you give them
access to your Google account.
After that, click “Allow” to continue. If you cancel, you
can’t add an account to Mailbird.
Step 07
Layout
Now your account is
added to the Mailbird application. Choose a layout you like, show the reading
panel, and choose any color. Then click "Continue.”
Step 08
Connect
You can add your
favorite apps to the Mailbird application, then connect them through the
Mailbird application.
After clicking the
apps, you want to add, click "Continue.”
Step 09
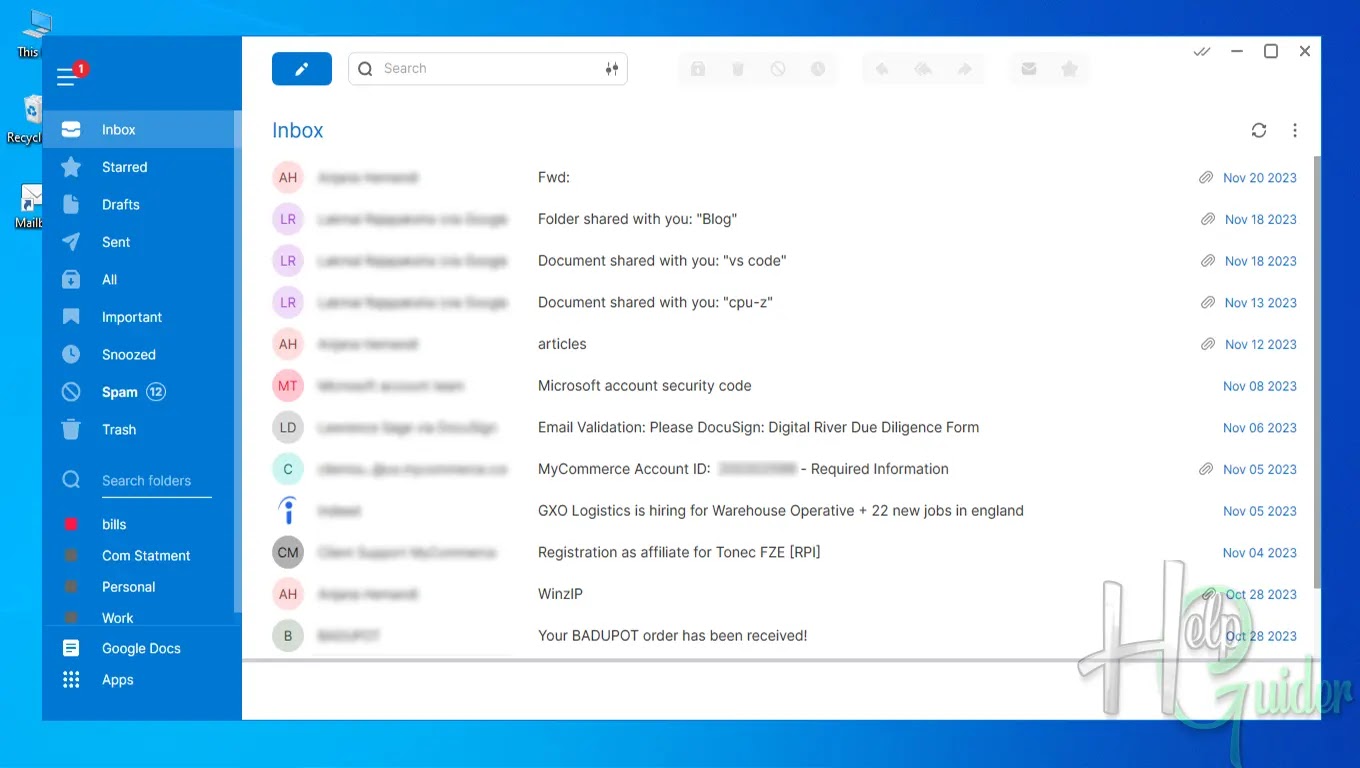
You’re all
Accounts and apps added
to the Mailbird app.
Click “Add more accounts" to add more accounts or click “Start Using Mailbird”
to start using Mailbird.
Now you can use
Mailbird and experience the features and tools. It is good to use feature tools
before you buy a license.
I hope you will enjoy the time you're spending
with Mailbird.
I hope you learn something.
Good Luck!


