How to Install Mailbird on your Windows PC


Mailbird is a
desktop email client for Windows that promises a user-friendly and
feature-packed experience. Manage multiple accounts from a unified inbox, boost
your workflow with customizable layouts and integrated apps, and personalize
your email with themes and signatures. Snooze unimportant emails, find specific
messages with powerful search, and enjoy enhanced security with features like
end-to-end encryption and two-factor authentication. Whether you're a busy
professional or simply seeking a more efficient way to manage your email,
Mailbird offers a compelling alternative to traditional email clients.
Here is the
step-by-step guide “How to Install
Mailbird on Your Windows PC.”
Step 01
Download the Mailbird setup
file.

Step 02
Go to the downloaded
setup folder and run it.

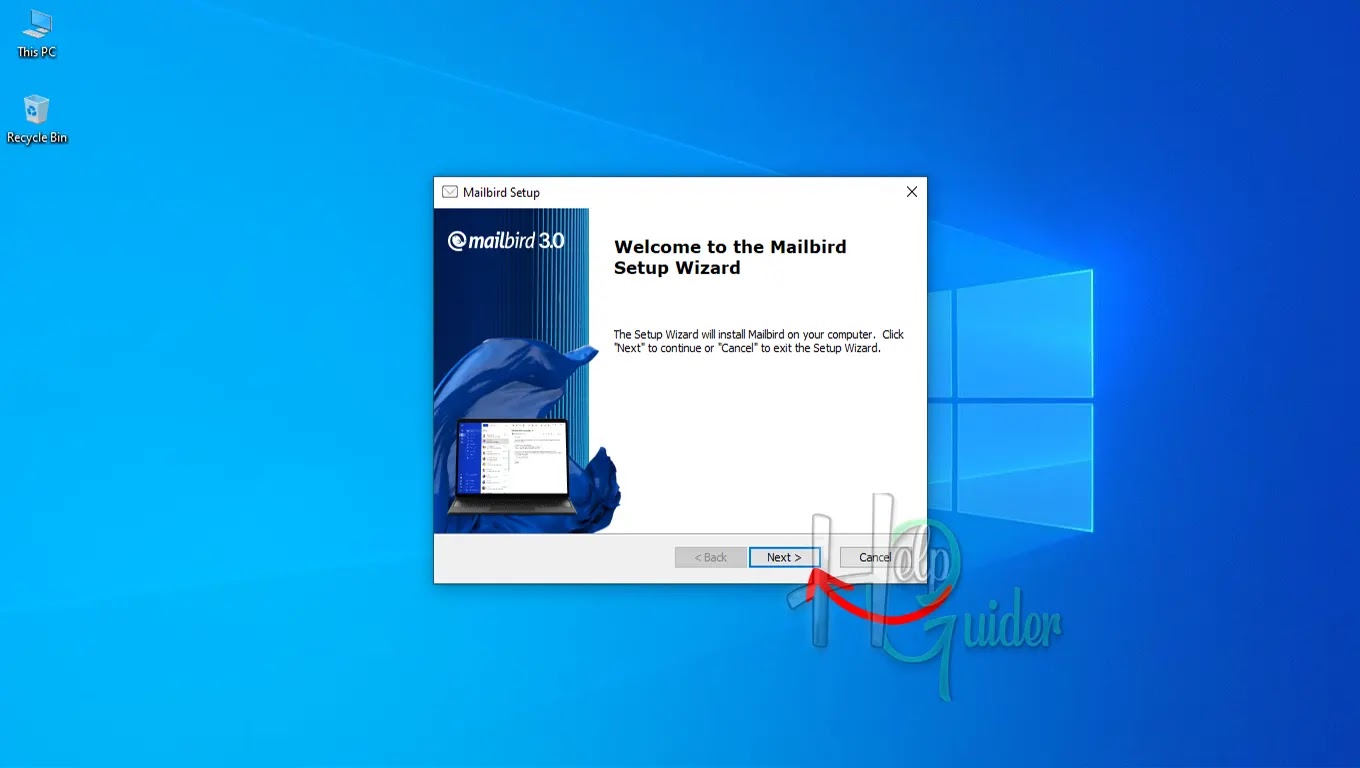
Step 03
After the Setup
Wizard is open, click “Next” to continue.
Step 04
End-User License Agreement
Read the Mailbird
Software License Agreement carefully; check “I accept” to continue or “I
do not accept” to close the installation process.

Step 05
Select Installation Folder
Click Browse and
select a folder to install or click “Next”
to install the default folder.

Step 06
Ready to Install
Select the language
you want to install, then click "Install.”

Step 07
Installing Mailbird
Please wait until
the installation is finished.

Step 08
Check the box in
front of where you want to create shortcuts, then click “Start Mailbird.”
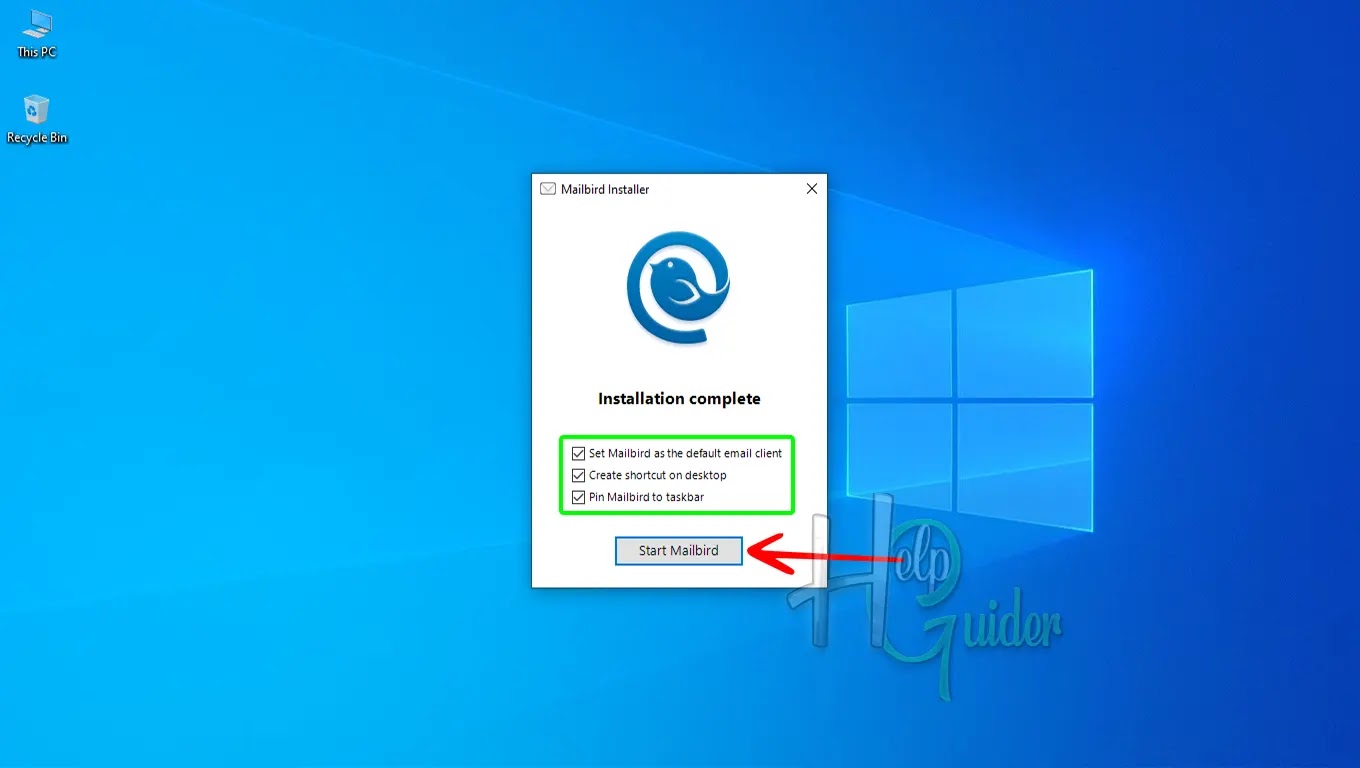
Mailbird is now
fully installed on your PC. Now you can set up your mail and enjoy it.

I hope you will enjoy the time you're spending
with Mailbird.
I hope you learn something.
Good Luck!