Add or Edit My Card on iPhone
The iPhone Contact
Card, also known as "My Card,"
serves as your digital identity on your Apple device. It's a dynamic platform
residing within the Contacts app, where you curate your personal and
professional information, including name, phone numbers, email addresses,
photos, and even website links. Sharing your Contact Card is a breeze, whether
it's through Airdrop, messages, or QR codes, making it a convenient way to
exchange information with new contacts or update existing ones. Think of it as
a sleek, digital business card, always at your fingertips, ready to make
introductions seamless and effortless.
Today I will show
you how to add your Contact Card.
Step 01
Open the contact
app, then click my card or click your name.
Step 02
If you do not create
a card, it will create a default so you can see your card with your name as the
first character.
Click “Contact Photo & Poster.”
Step 03
Before we customize
the poster, let's see what's here.
Name & Photo Sharing: Your name and the
poster will be shared with your contacts, even if they do not save your number.
Name: Enter any name you like. Your name will be shown to
others when you call them.
Share Automatically: Your contact information, which you
saved, will be shared with your contact list.
Set up those
settings as per your preference.
Click “Edit” to customize the poster.
Step 04
You can create one
or more posters you link, but only one will post on your card.
Click “+” or “Create New” to do the change as you like.
Step 05
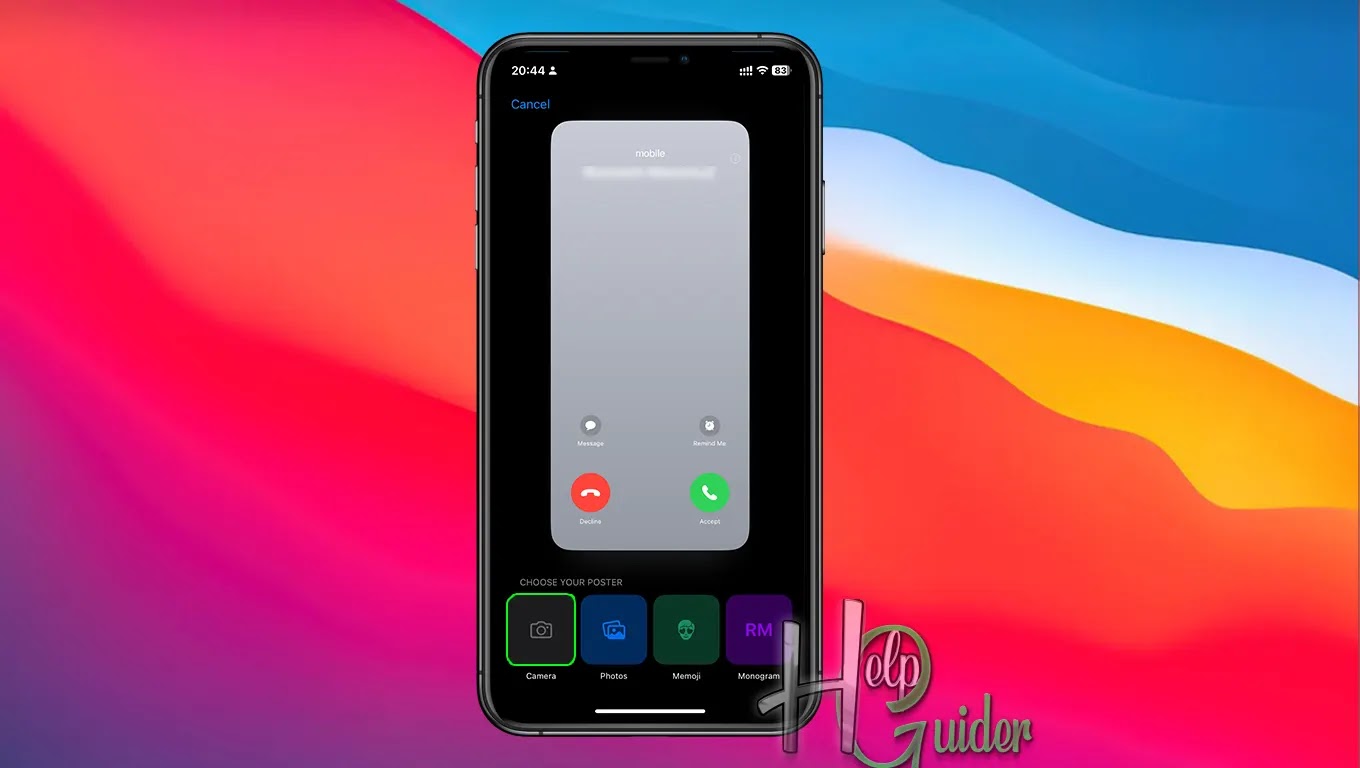
You can see a
preview of the card.
Here, you can take a Pic, add a Photo, Memoji, or Monogram to your card.
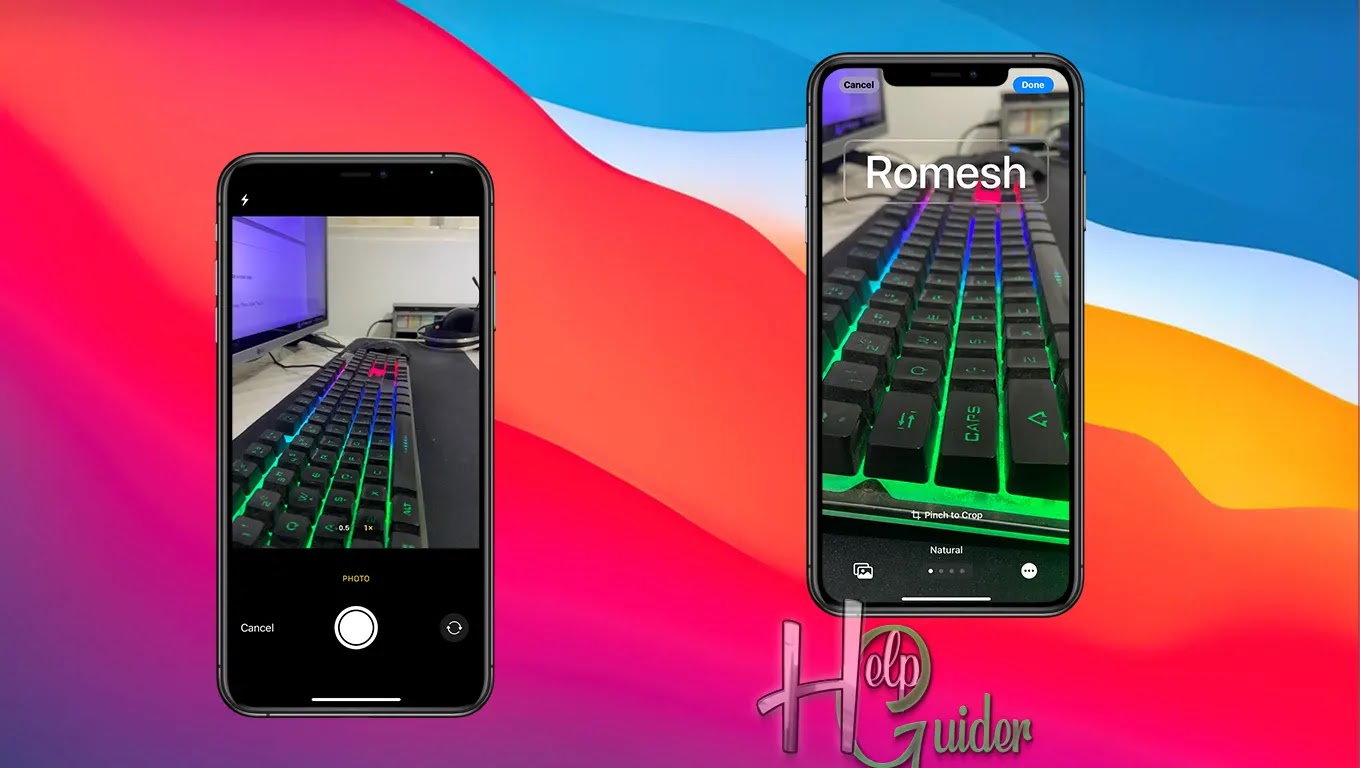
Take a Photo.
Click “Camera” to take a photo.
Capture the best
moment and click Use Photo. (After that, swap from right to left to change the
style.)
Or
Choose a Photo from Photos
Click “Photo” to choose a photo from your
photos.
Select any photo
from your photos. You can zoom in and out with two fingers. (After selecting,
swap from right to left to change the style.)
Or
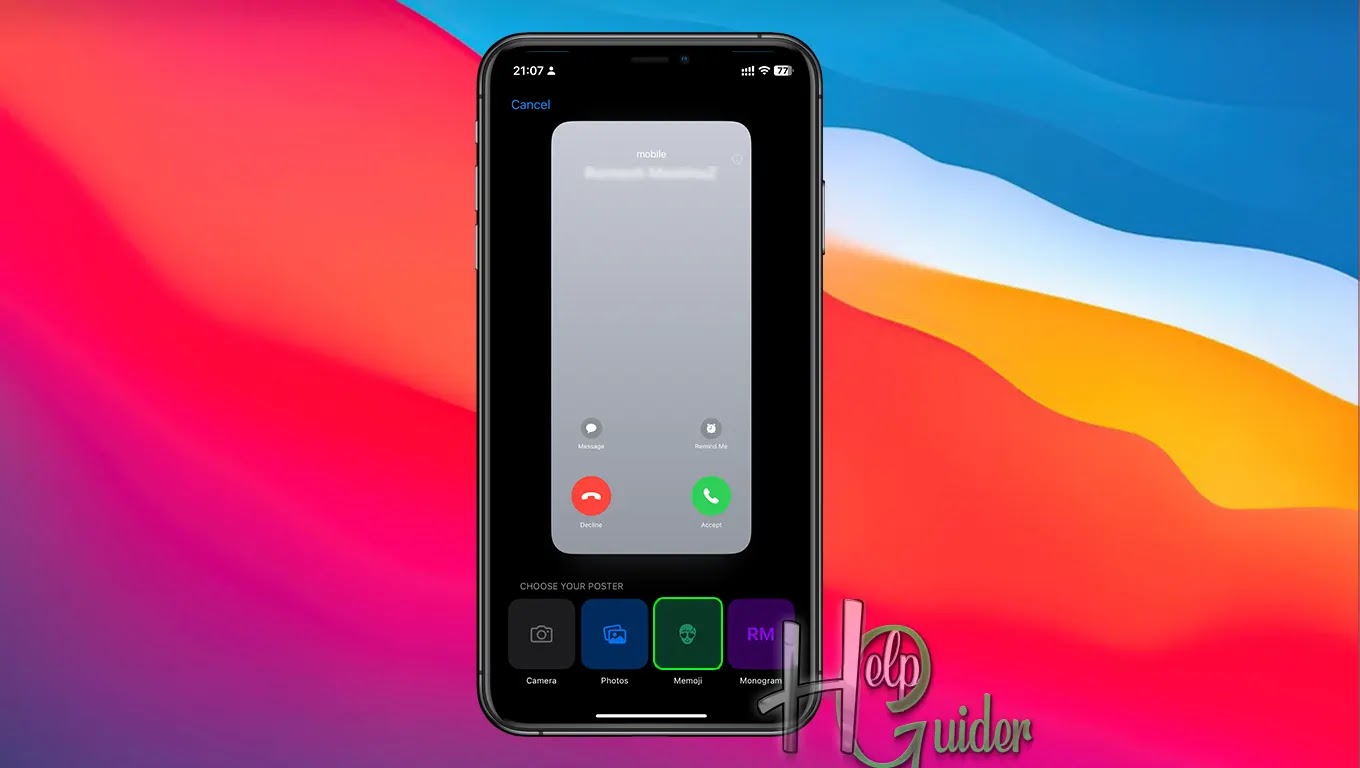
Choose a Memoji
Click “Memoji” to choose a memoji or create a
new one.
Select one or click
“+” and create a new one. Then click
“Next.” (Click the circle icon in
the bottom left corner to change the color.)
Choose a Monogram
Click “Monogram” to create a new one.
Click the circle
icon in the bottom left corner to change the color and click the character in
the bottom right corner to change the character. You can use one or two
characters only; you cannot change the style.
After
Click the name in
the preview, and then you can change the font style and color.
If you are using a
photo, swap from right to left to change the style. When done with everything,
click "Done.”
Step 06
Here, you can see a
preview of the card. Click "Continue.”
Step 07
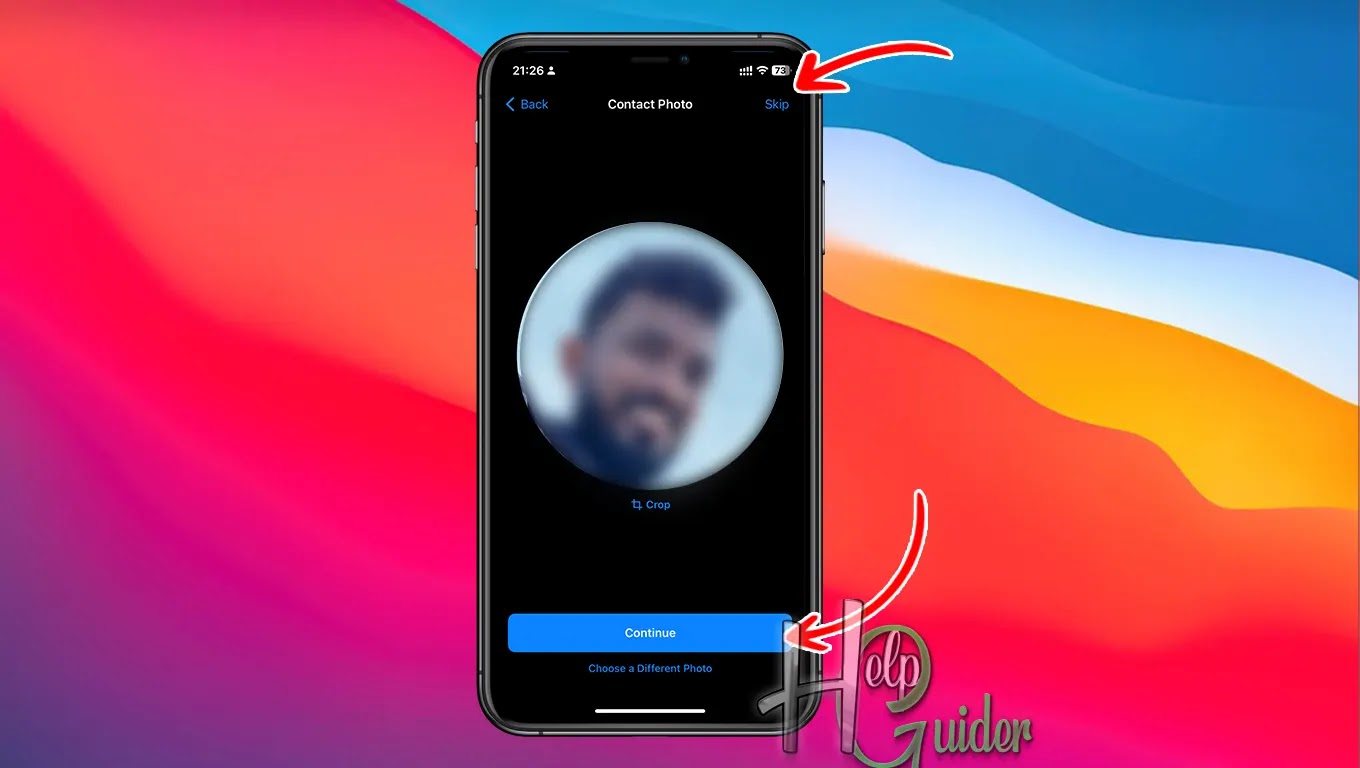
Contact Photo
Click “Choose a Different Photo” change the contact photo. Then select one.
Click “Continue” when you are done cropping or click “Skip” to skip this.
Now everything is
done. Your contact card is set. Now when you call them, they will see "My Card" (your Contact Card) on their iPhone.
This is how to set
up your contact card. You can change any time you want to change the style,
photo, name, or anything else.
I Hope you learn something…
God Luck


